
Gooey项目支持用一行代码将(几乎)任何Python 2或3控制台程序转换为GUI应用程序。
1.快速开始
开始之前,你要确保Python和pip已经成功安装在电脑上,如果没有,请访问这篇文章:超详细Python安装指南 进行安装。
如果你用Python的目的是数据分析,可以直接安装Anaconda:Python数据分析与挖掘好帮手—Anaconda,它内置了Python和pip.
此外,推荐大家用VSCode编辑器来编写小型Python项目:Python 编程的最好搭档—VSCode 详细指南
Windows环境下打开Cmd(开始—运行—CMD),苹果系统环境下请打开Terminal(command+空格输入Terminal),输入命令安装依赖:
安装说明
(方式一)安装Gooey的最简单方法是通过 pip
pip install Gooey
(方式二)或者,您可以通过将项目克隆到本地目录来安装Gooey
git clone https://github.com/chriskiehl/Gooey.git
如果你的网络不支持从GitHub克隆,请在Python实用宝典上回复:Gooey 下载项目源代码。
解压后进入该文件夹,运行 setup.py:
python setup.py install
2.使用方法
Gooey 通过将一个简单的装饰器附加到主函数上,然后使用GooeyParser可将你所有需要用到的参数可视化为文本框、选择框甚至是文件选择框。
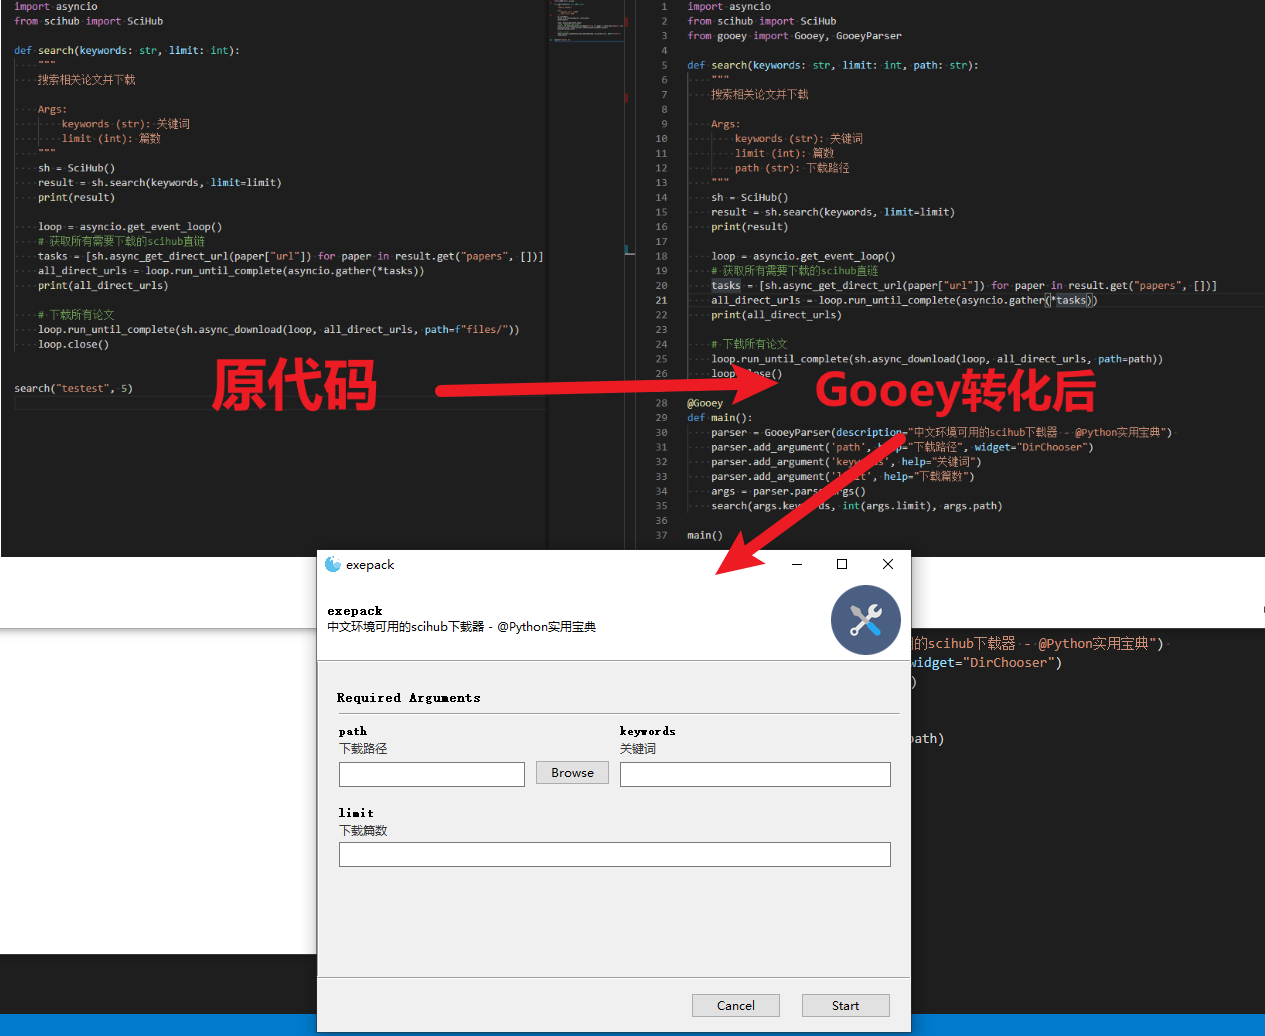
比如在scihub文献下载的文章中,我们需要输入两个参数:1.关键词,2.下载篇数,使用Gooey可以这么改:
from gooey import Gooey, GooeyParser
@Gooey
def main():
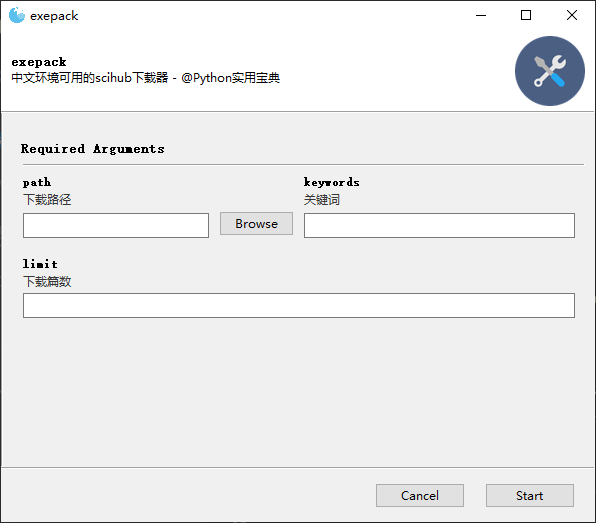
parser = GooeyParser(description="中文环境可用的scihub下载器 - @Python实用宝典")
parser.add_argument('path', help="下载路径", widget="DirChooser")
parser.add_argument('keywords', help="关键词")
parser.add_argument('limit', help="下载篇数")
args = parser.parse_args()
search(args.keywords, int(args.limit), args.path)GooeyParser 和 ArgumentParser 一样,使用 add_argument 就可以增加输入参数,不同的是 GooeyParser 提供了可视化的选项:
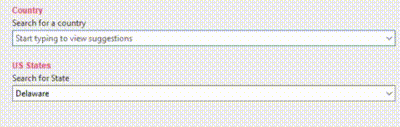
parser.add_argument('path', help="下载路径", widget="DirChooser")这一行代码,widget 参数给 args.path 变量提供了一个目录选择器(widget=”DirChooser”),help参数用于提醒用户该选择器的作用,效果如下:

当你不提供widget参数时,程序默认使用文本输入框。
parser.add_argument('keywords', help="关键词")
parser.add_argument('limit', help="下载篇数")
Gooey会自动编排你的参数,因此你不需要担心各个文本框或选择框的显示问题。
args = parser.parse_args()
search(args.keywords, int(args.limit), args.path)
args = parser.parse_args() 可以将用户输入的所有文本转化为对应对象的变量值,通过 args.var 可以直接提取对应的变量值。
这个简单的可视化程序完整代码及效果如下:
import asyncio
from scihub import SciHub
from gooey import Gooey, GooeyParser

def search(keywords: str, limit: int, path: str):
    """
    搜索相关论文并下载

    Args:
        keywords (str): 关键词
        limit (int): 篇数
        path (str): 下载路径
    """
    sh = SciHub()
    result = sh.search(keywords, limit=limit)
    print(result)

    loop = asyncio.get_event_loop()
    # 获取所有需要下载的scihub直链
    tasks = [sh.async_get_direct_url(paper["url"]) for paper in result.get("papers", [])]
    all_direct_urls = loop.run_until_complete(asyncio.gather(*tasks))
    print(all_direct_urls)

    # 下载所有论文
    loop.run_until_complete(sh.async_download(loop, all_direct_urls, path=path))
    loop.close()

@Gooey
def main():
    parser = GooeyParser(description="中文环境可用的scihub下载器 - @Python实用宝典")
    parser.add_argument('path', help="下载路径", widget="DirChooser")
    parser.add_argument('keywords', help="关键词")
    parser.add_argument('limit', help="下载篇数")
    args = parser.parse_args()
    search(args.keywords, int(args.limit), args.path)

main()
这份代码想要完美地运行起来请结合 你不得不知道的python超级文献批量搜索下载工具 的 scihub.py.
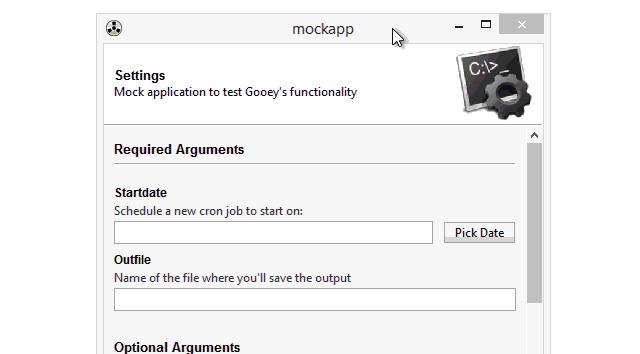
你也完全可以使用自己的程序进行图形界面化,这无关紧要。
效果如下:
3.支持的widget组件
所有支持的widget组件如下:
1.勾选框 widget=”CheckBox”
2.下拉框 widget=”DropDown”
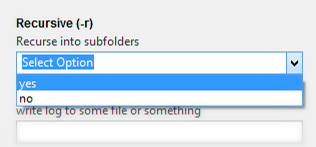
3.互斥选择框 widget=”RadioGroup”

4.各种目标类型的选择框
文件选择框 widget=”FileChooser”
目录选择框 widget=”DirChooser”
多文件选择框 widget=”MultiFileChooser”
文件保存目录 widget=”FileSaver”

5.日期/时间选择器 widget=”DateChooser/TimeChooser”
6.密码输入框 wiget=”PasswordField”

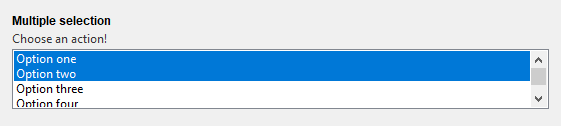
7.多选列表框 widget=”Listbox”
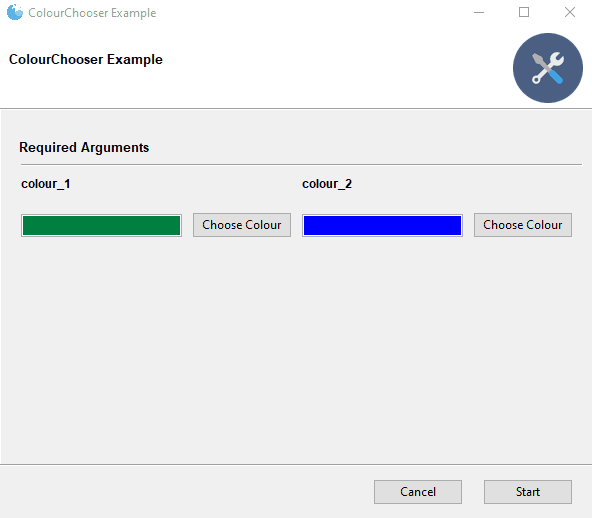
8.颜色选择器 widget=”ColourChooser”
9.可过滤的下拉框 widget=”FilterableDropdown”
10.滑片 widget=”Slider”

4.打包
在一切都测试完毕后使用正常后,你可以通过 pyinstaller 将这个可视化程序打包成exe可执行文件。
1.编写 PyInstaller buildspec
PyInstaller使用 buildspec 来确定如何捆绑项目。你可以在Python实用宝典后台回复 buildspec下载 build.spec.txt.
下载后你只需要改两行代码:
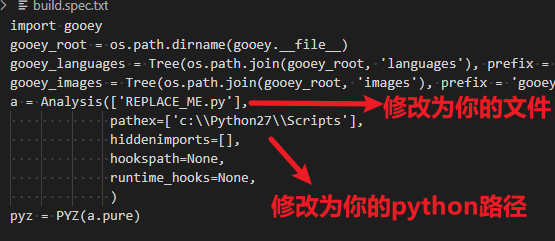
如下所示:
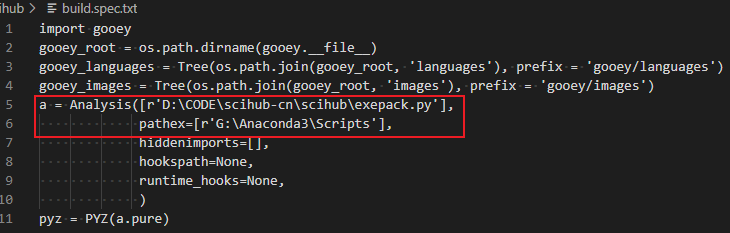
在路径前面带r,可以不用输入两个斜杆 ‘\’ 哦。
2.执行打包命令
为了能够使用 PyInstaller, 我们需要使用pip安装这个模块:
pip install pyinstaller
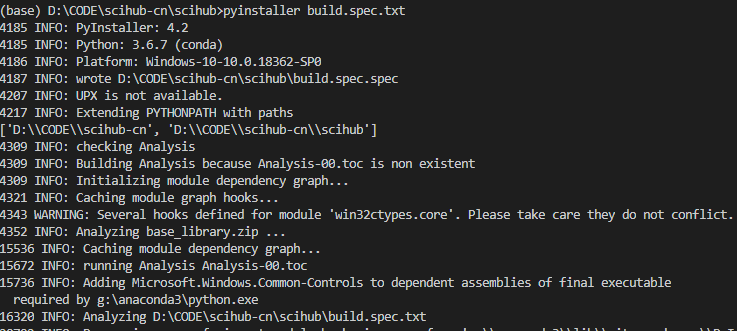
然后进入 build.spec.text 所在文件夹,执行以下命令打包程序:
pyinstaller build.spec
打包完成后会在当前文件夹下生成一个dist文件夹,里面就包含了你打包生成的可执行文件。
我们的文章到此就结束啦,如果你喜欢今天的 Python 教程,请持续关注Python实用宝典。
有任何问题,可以在公众号后台回复:加群,回答相应验证信息,进入互助群询问。
原创不易,希望你能在下面点个赞和在看支持我继续创作,谢谢!
Python实用宝典 ( pythondict.com )
不只是一个宝典
欢迎关注公众号:Python实用宝典

评论(0)